A Festive Banner To Ring In The New Year

It is time to bring in the New Year. Why don’t we do so with a fun arc craft project? Whether you’re planning on having a big party or just staying in with a glass of champagne, you can’t go wrong with a New Year’s banner to bring in the festive spirit.

The arc carries many craft supplies and is the perfect place to start your DIY mission. The first stop to make is the textile section, where you can find many different fabric types and patterns. For my banner, I found about two yards of gold polyester with sparkles, perfect for a fun banner! The fabric cost $9.99.

arc1

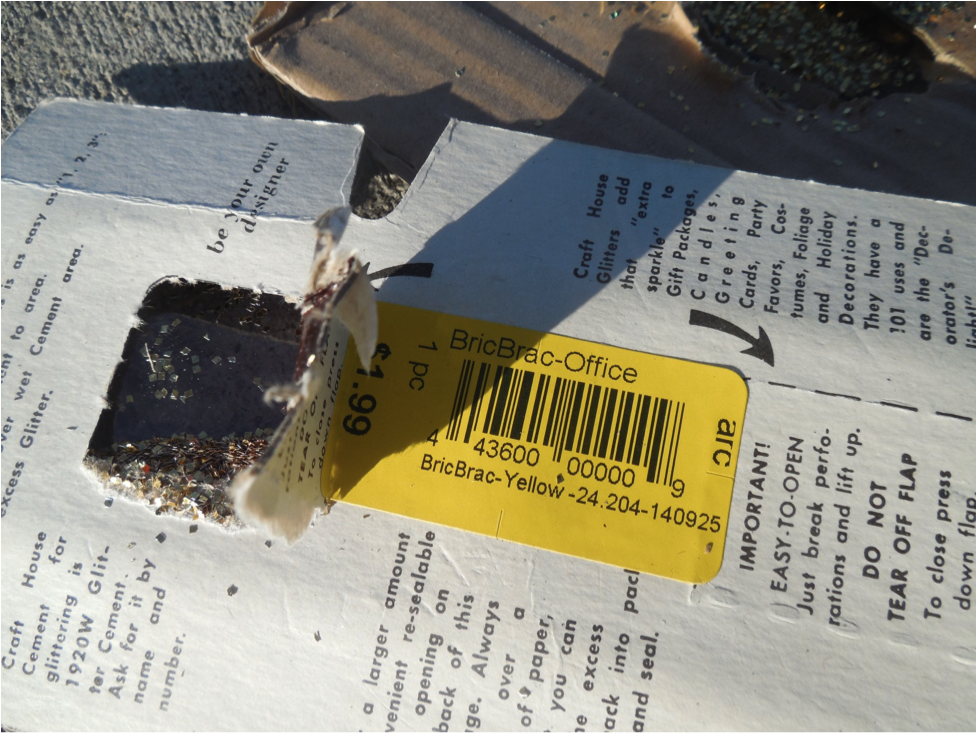
The next stop I made was the craft section, where I found glitter packets for $1.99. I knew I had some spray on glue at home to use for sticking the glitter to the fabric, so I was set.

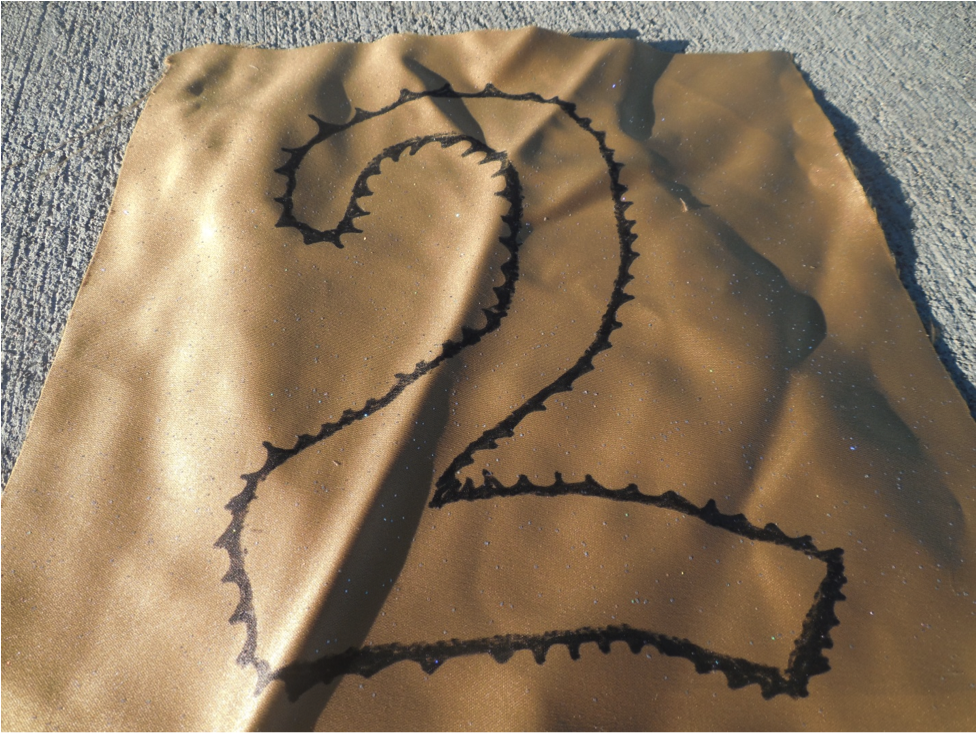
The first step is to cut out a long strip of fabric to use to hang all the other banner components on. Next cut out four large squares. I eyed mine and they turned out to be about 8 inches by 8 inches. I cut number stencils out of cardboard and used them to apply the glue and glitter. I made slits in the upper corners of the fabric panels so I could string them onto the original strip of fabric.

arc4arc5arc6arc7 The tassels are made by cutting out long strips of fabric, wrapping them around a 4 inch piece of cardboard and then tying them off. The tassels can by tied to the original strip of fabric.

arc8

I put everything together and the results are below. I can’t wait to go back to the arc New Year’s day for their 50% off sale!

arc9

Vintage Dictionary Art

arts and crafts

Vintage dictionary art is all over the place lately. There are countless examples online at sites like Pinterest and Etsy, but it’s always seemed like something that would be simple to make versus having to buy. I’ve wanted to try my hand at it for a while now but I had to find the perfect vintage dictionary.  That’s where arc comes in; I found a beautifully aged, large dictionary from 1936 that was under $5!  It has great pictures and wonderful sepia-toned edges.  Other books I’ll keep an eye out for are old encyclopedias or vintage children’s books with great illustrations—I think both of these would also make great art work.

The first step, which felt almost sacrilegious for a book lover like me, was to cut out the pages as neatly as I could.  I wanted to cut very close to the book’s spine so that the borders on each side of the page were even.  Also, the neater I cut it at first, the less trimming and fixing I had to do later. Image 3Image 1

After I had my pages cut I did some research to find a quote.  I wanted it to be a quote about books or reading, and something that I wouldn’t mind looking at on my wall for a long time to come.  I found a great one from writer, Lisa Kleypas.  After experimenting with how to best print on the delicate vintage pages, I finally developed a good system of just barely taping a page onto a regular sheet of printer paper.vintage

After a few mishaps and many rough drafts (see picture above where I tried to print over a dark picture…) I ended up with an awesome piece of art!  I found a very simple black frame at arc (where else?!) and LOVE how it turned out.  Already thinking about the next one I want to make; maybe, “The only thing I like better than reading is thrifting” or “I ♥ vintage.” Until next time, happy crafting and thrifting at arc! -Julie

old books

Make Your Own Mug

So the other day I went by arc Thrift and I bought a white mug for my latest (affordable) craft project!  I wanted to make my own custom designed mug.  These are great for gifts, special occasions or just for plain fun.  Next, I hand drew on the white mug with a sharpie (preferably a sharpie paint marker), you can find these for cheap at any arts and crafts store. You can use all kinds of colors and designs on your mug, get creative and crafty Colorado! Be sure to wipe the mug off with a damp cloth and dry it before you start drawing.  Once you have completed your artwork its ready to be baked.  Heat the oven to 365 degrees and put the mug in there while the oven is heating up, this will prevent it from cracking.  Now once the oven heats up you will want to bake to start a timer and bake it for 30 minutes. Afterwards let it sit in there while the oven cools.  Take it out. Wash it. Enjoy it! Image


– Lian, arc Thrift’s college blogger