Welcome Becky from the Denver Craft Ninjas as our first Guest Blogger! If you don’t know about the Denver Craft Ninjas, then you should! Read on to see how you can make super cool DIY Halloween Headbands from our local craft guru……..
Don’t have time for a complete costume this year? Or can’t figure out what will pull together your delightfully frightening costume ideas?
Get together with your friends, like I did, and DIY the cutest little Halloween headbands!

Amber and Becky (Denver Craft Ninjas) model their spooky headband creations!
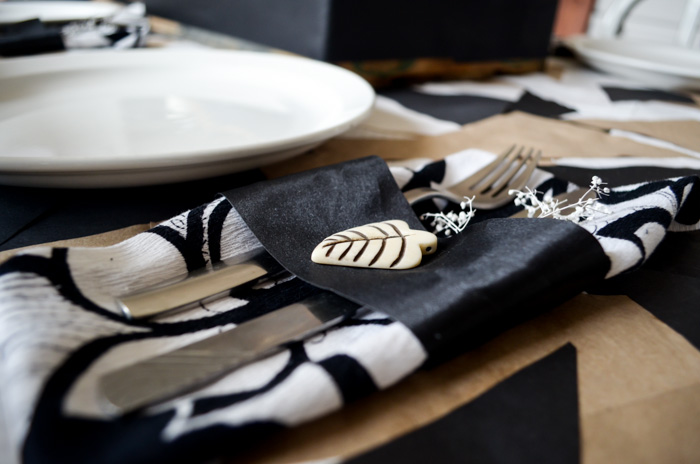
Headbands are the perfect blank canvas for your costume idea. Add some plastic bones and roses, a little greenery and a red eyed raven, or tulle and spiders to create spirited accents that work perfectly on their own or as an addition to a complete costume.

She’s Crafty! Awesome Denver Craft Ninjas Halloween craft studio.
My lovely assistant Amber and I played with a variety of materials to create three great headbands that will work for any age.
And really the materials are the best part, right?
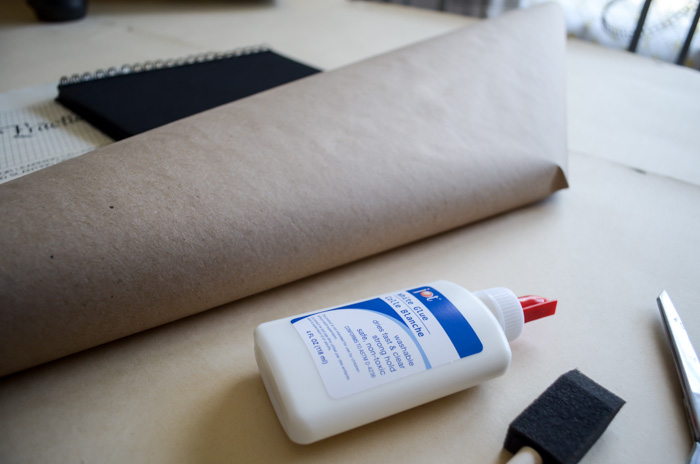
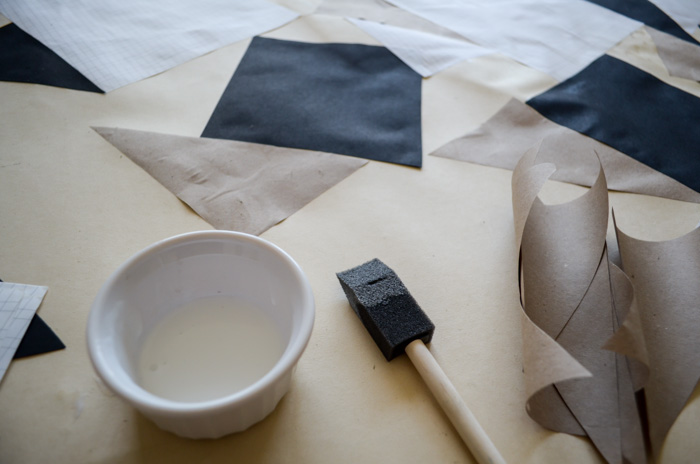
We gathered fabric flowers, scrap fabric, and a few cheap Halloween necessities and set to work. Many of these items can be found at arc Thrift Stores!
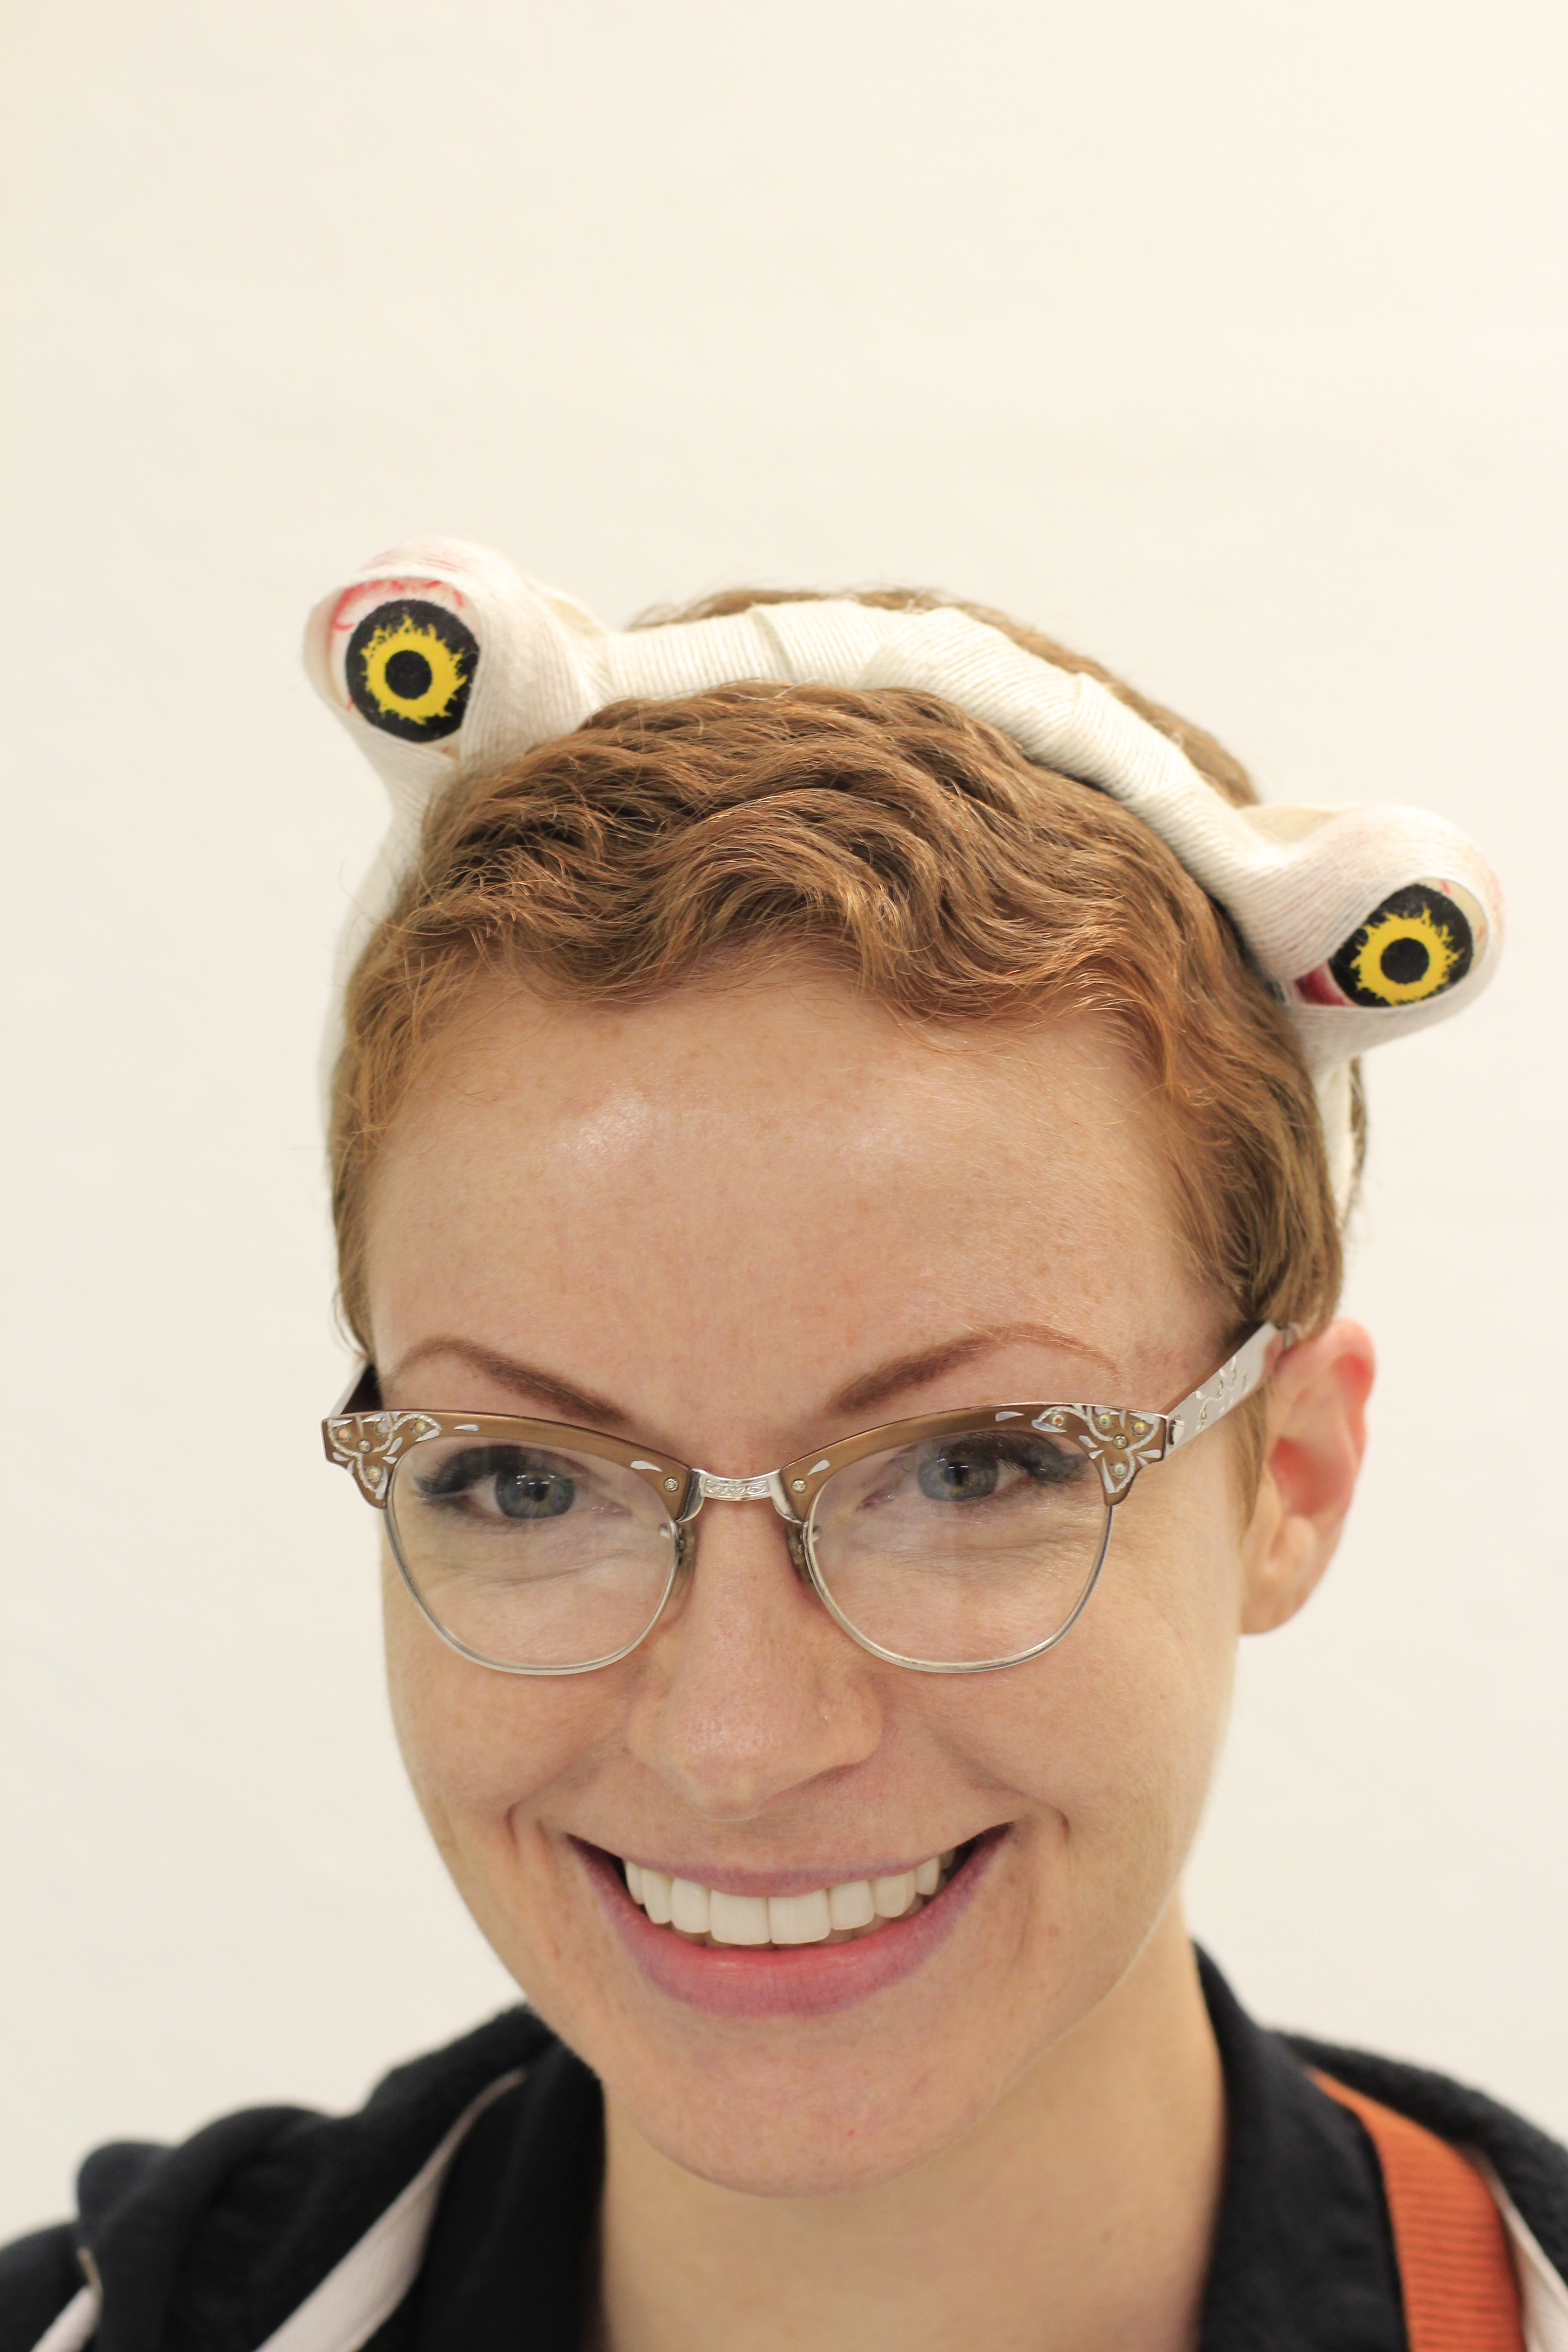
First, is our adorable Mummy Eyes headband!
Amber whipped this super cute, asymmetrical eyed accessory up in no time.

To start, grab a fairly wide headband and wrap with a gauzy fabric or ribbon and secure with a glue gun. Then grab some creepy, bloodshot eyeballs (we used a pre-painted foam eyeball) and glue them wherever you want on the headband. Amber decided on a crooked placement for the eyes and it minimized the ghoulish and made it a little silly. And last, Amber wrapped a little ribbon around the eyeballs.
A totally cute addition to a mummy costume or just something fun to wear all by itself!
Second, is our simple spider headband!

With this project, we used some lavender tulle and wrapped it tightly around a thin metal headband securing it with a glue gun. We made charming tulle rosettes by gathering small pieces of tulle and then placing a dot of hot glue in the center to hold the rosette together. Be careful! The hot glue will seep through the tulle and can burn your fingers.
The tulle will naturally fan out and make whispy bases for sinister, sparkly spiders to sit on. Another small dot of glue in the center of the rosette will secure your spider to the rosette. Then decide on placement for your spider! We placed two spiders right next to each other for extra creep factor!
This is a great project to experiment with! The tulle is so fun to play with and it’s fairly easy to create a haunting veil that hangs over your face.
Our last headband turned out to be our favorite!
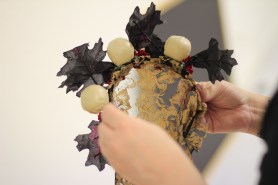
Inspired by Dia de los Muertos, we created a spooky statement piece that can be worn with a whole costume or on it’s own with some really gorgeous face paint!
Using a wide, black fabric headband, we started by gluing some gold and black stretch lace to the headband to add some
In our hunt for pieces to use for these headbands, we were drawn to these lovely black leaves with purple glitter on them. PURPLE GLITTER! We took apart the leaves and placed 6 leaves, 2 at a time, in the middle and on the sides of the headband with hot glue. Then between the leaves we placed fun mini skulls which created a kind of crown. Finally, between skull and leaf we tucked little trios of mini fabric red roses. After letting the glue set on all the pieces, it’s a good idea to adjust the leaves to be sure they don’t obscure any of the other elements of the headband.
Voila! You have three great looks to jump start your costume plans!
Halloween is a great time to get your glue gun fired up and create something handmade that is as individual as you are!
Visit the Denver Craft Ninjas new craft space called Share.Denver located at 28th and Fairfax in Park Hill.

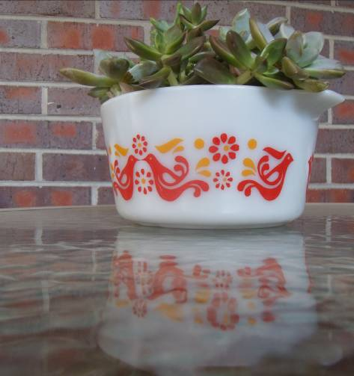 I have an obsessive love of vintage pyrex. The beautiful designs and bright colors bring out hoarding tendencies within me that I’m not proud of. For these reasons, I do anything I can to make vintage pyrex useful within my home. If it’s useful then it’s not hoarding…right?
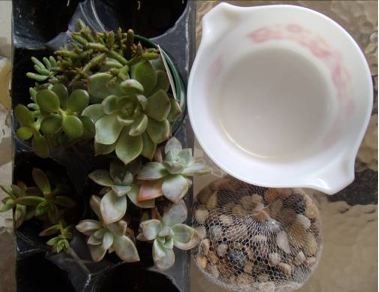
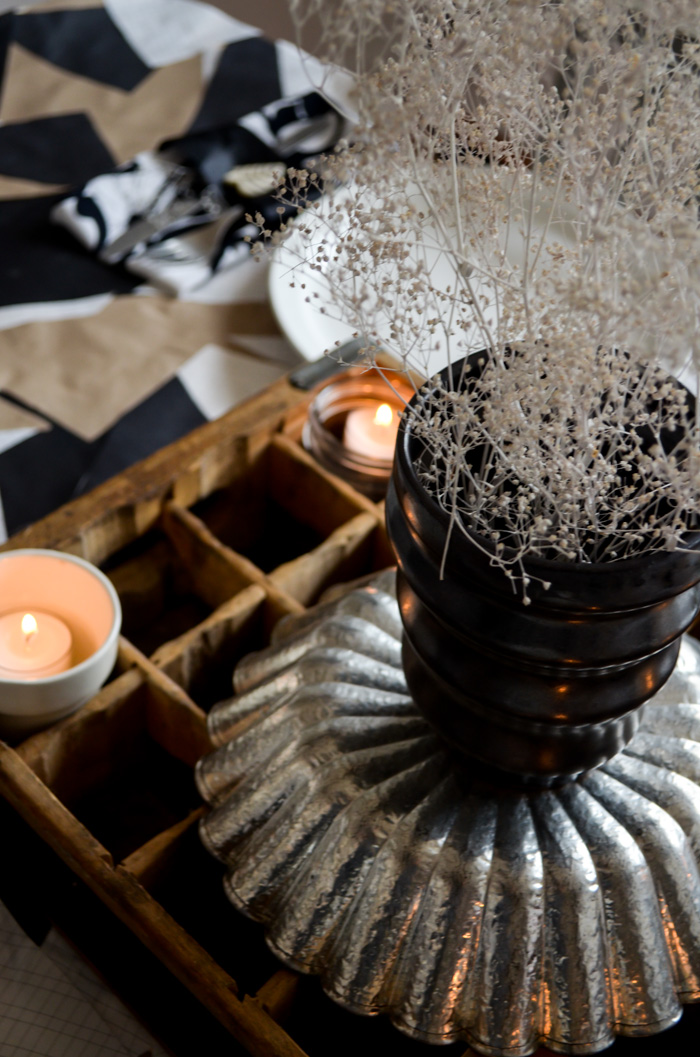
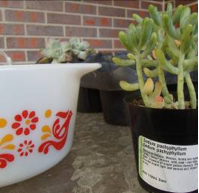 I filled my pyrex with a couple inches of rocks and then took my time and arranged the plants throughout. I put the biggest plant in first and then slowly filled in the gaps.