Make A Custom Wreath For Under $20

Christmas is the best time of year for an Arc craft project. The aisles are packed with goodies and colorful, potential, craft materials. Today I wanted to show you how to take these “potential” items and turn them into a beautiful holiday adornment.

My door is lacking a cheerful Christmas wreath and I thought it would fun to make one using old wool sweaters and give an old grapevine a new life.

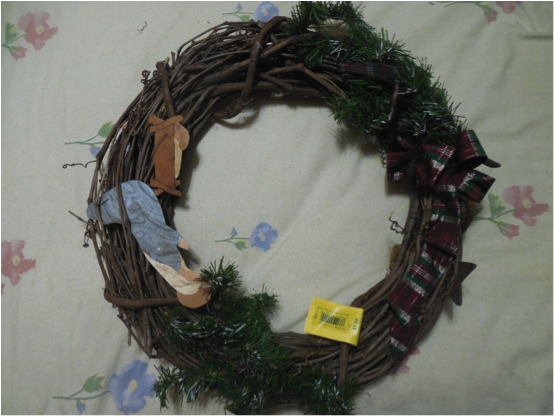
The first step to create a wreath is to find a form at your local Arc store. Anything can be used, but I found a lovely grapevine wreath that was begging to be up-dated. The cost of this form was $4.99.

Blog1

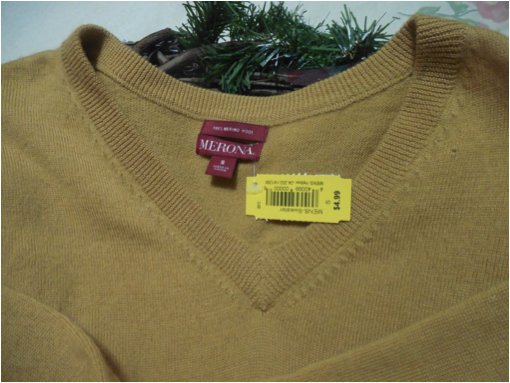
The next step is to find wool sweaters that are 90% to 100% pure wool. Since this is the Christmas season, I hit up all the red sections over and over again until I found the perfect sweater. I then grazed through the rest of the knits and found a lovely soft gray sweater made of merino wool and another in gold. Each of these cost $8.00, $7.00 and $5.00 respectively.

Blog2.1 Blog2.2 Blog3

When you get them home, tear off the tags and bag them in pillow cases. Toss them in the washer on high heat for your longest cycle with just a small amount of detergent. Don’t let the spin cycle run. I would do separate loads to avoid having the colors run. If you have a front loader like me, throw in a couple bouncy balls, tennis balls or a tennis shoe. Check the sweaters after the cycle and if you can’t see the knit stiches anymore you are good to go. If not, run them through again. This whole process is basically wool care blasphemy.

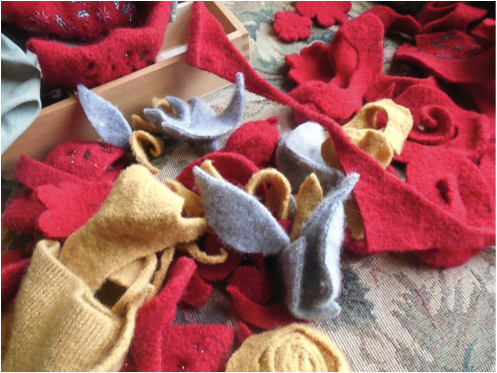
After felting the wool (the process above) it is time to cut the sweaters up. Cut circles and flower shapes and spirals and leaves. Just go to town and make a giant pile.

Blog7 Blog8 Blog9

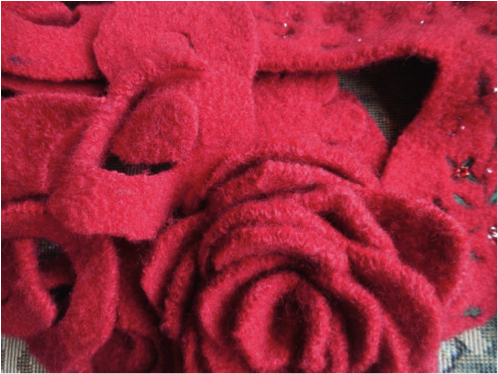
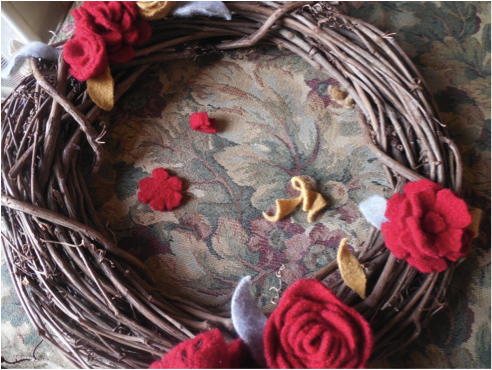
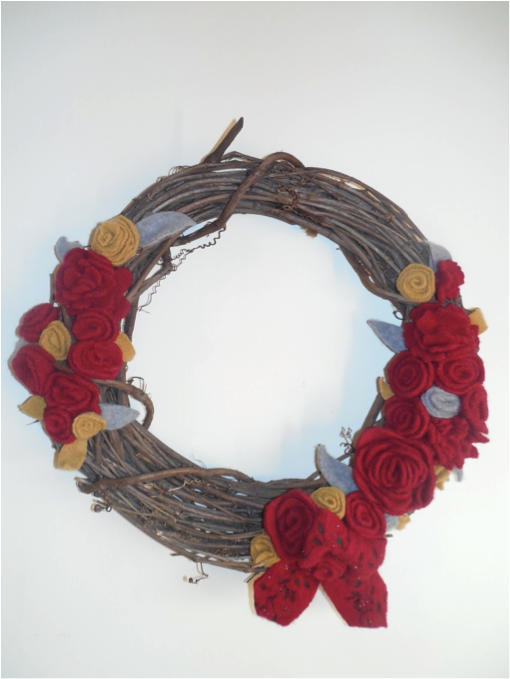
Pull out your hot flue gun and put your flowers together and then glue them to your wreath form. My finished product is below. I had some fun adding a bow and mixing up the types of flowers.

Blog10

Written by Jessica, aka Colorado Momma.

A Thanksgiving Look That Barely Cost A Thing

I wanted to find something new for the Thanksgiving table – something for the grandkids. So, I headed to arc Thrift Store in Loveland. First I found the “pilgrim doll.” What a perfect centerpiece for the kids!

1113141334b (1)

I had seen some tea light candle holders in a magazine with frosted edging and wanted to try to make some for the holidays. The amber glasses would be perfect for what I had in mind. arc had a very large selection of wicker baskets and I found the piece I needed along with the fall floral items for the final touch. All of this for $24.61.

1113141338 (1)

1113141336a (1)

What you’ll need for the candleholders: double-faced tape, glue gun, diamond dust, Modpodge, assorted glasses (canning and jelly jars also work well), ribbon and battery-operated tea lights.

1116141518b (1)

Pour the Mod Podge into a bowl to the depth of about ½ inch. Put a generous amount of diamond dust into a second bowl and push to the center to create a mound. Dip the top of the glass into the Mod Podge and then into the diamond dust. After the first one, I realized that it wasn’t a good idea to let the top of the glass touch the bottom of the diamond dust bowl. By creating a mound, you can swirl the glass around until enough diamond dust sticks to the glass. Let the glass dry – about 20 to 30 minutes. If you want, you can repeat the process to create a thicker “snow” edge on the glass.

After the glass dries, put double-faced tape around the glass where you want the ribbon to be. I found that the ends of the ribbon required extra adhesive so I used the hot glue gun to apply glue on the ends of the ribbon. When determining where you will be placing the ribbon, leave enough space from the bottom ribbon edge and the bottom of the glass as about ¾” of diamond dust is poured into the glass. We want the diamond dust to show through. Place the battery-operated tea light inside the glass on top of the diamond dust. Caution: do not use candles. It is not safe with the diamond dust.

1117140820

Final step – arrange the candle holders and fall floral pieces around the base of the doll. And, there you have it – a new centerpiece already for Thanksgiving dinner! The shelves at arc Thrift Stores are filled with holiday items that you can use “as is” or let your imagination loose and design your very own creation. Can’t wait to get back to check out all of the Christmas possibilities.

1116141619a (2)